Build dashboards with MySQL
Open-source relational database management system, popular for being very beginner friendly and hassle free.
How do I activate this integration?
First Step
Login to your Onvo account, go to the Integrations page click on Connect next to the MySQL card.
Second Step
You will then be shown a configuration modal where you can enter the relevant credentials and click on Connect MySQL.
Third Step
You can now head over to the Data sources page and click on New data source.
Fourth Step
Fill in a name for the data source, an optional description and choose MySQL as the data source type. Then click on Connect.
Fifth Step
In the page that appears, select the data types or tables you want to sync and click on Save changes. You should now see your data descriptions and sample data appear.
What can I do with this integration?
You can pull in data from multiple tables/databases as data sources on Onvo to build your dashboards and reports. Any datasource using the MySQL integration will be kept in sync with the underlying data to keep your dashboards live.
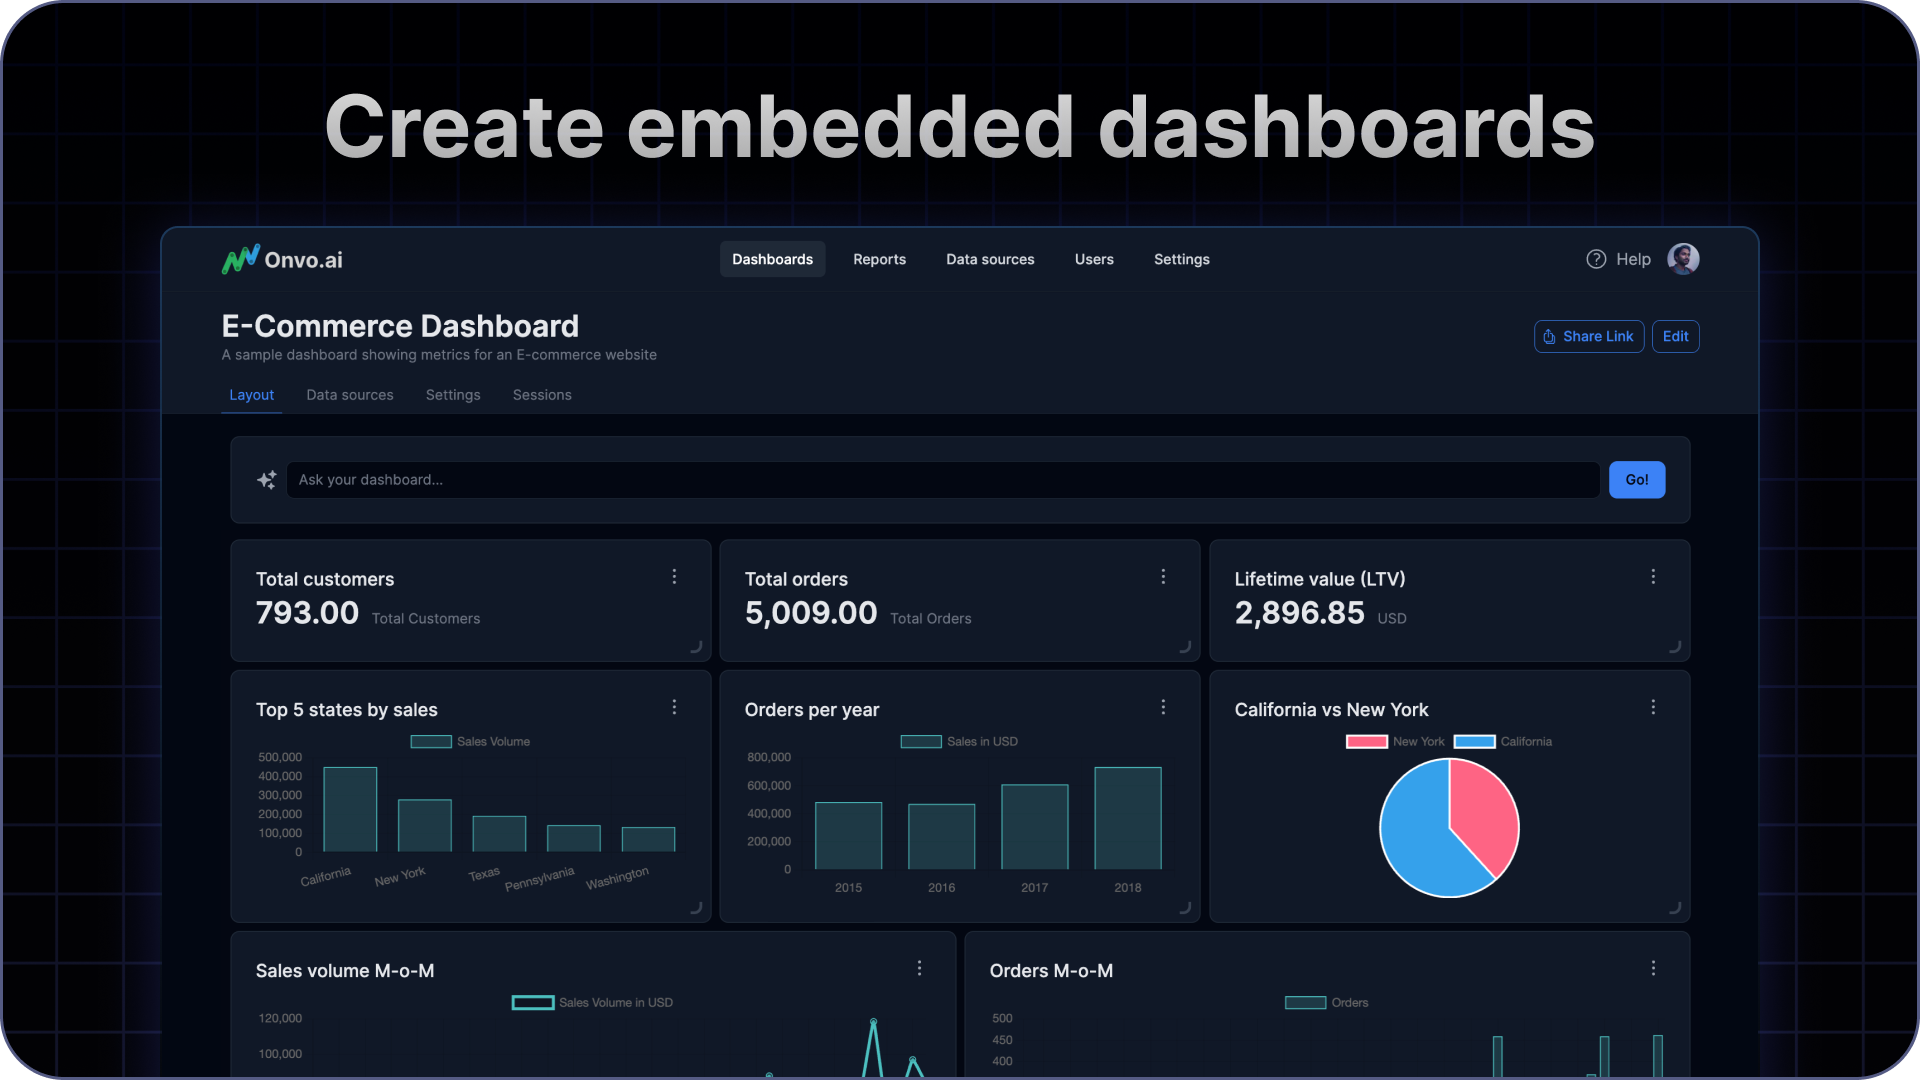
You can create beautiful, interactive dashboards using your MySQL data. Just ask for the kind of visualisation you want in natural language to create a widget on the dashboard. You can also ask for data pre-processing before visualisation. We also allow for questions in natural language to your data on MySQL.

Security considerations
It is recommended to setup a separate user on yourMySQL system with just read access to the data you require for your dashboard. In addition, if possible, restrict the incoming IP addresses to the database.
If you do restrict access by IP addresses, make sure to whitelist 35.209.78.5 for Onvo AI to access your data.


