Embedding your first dashboard
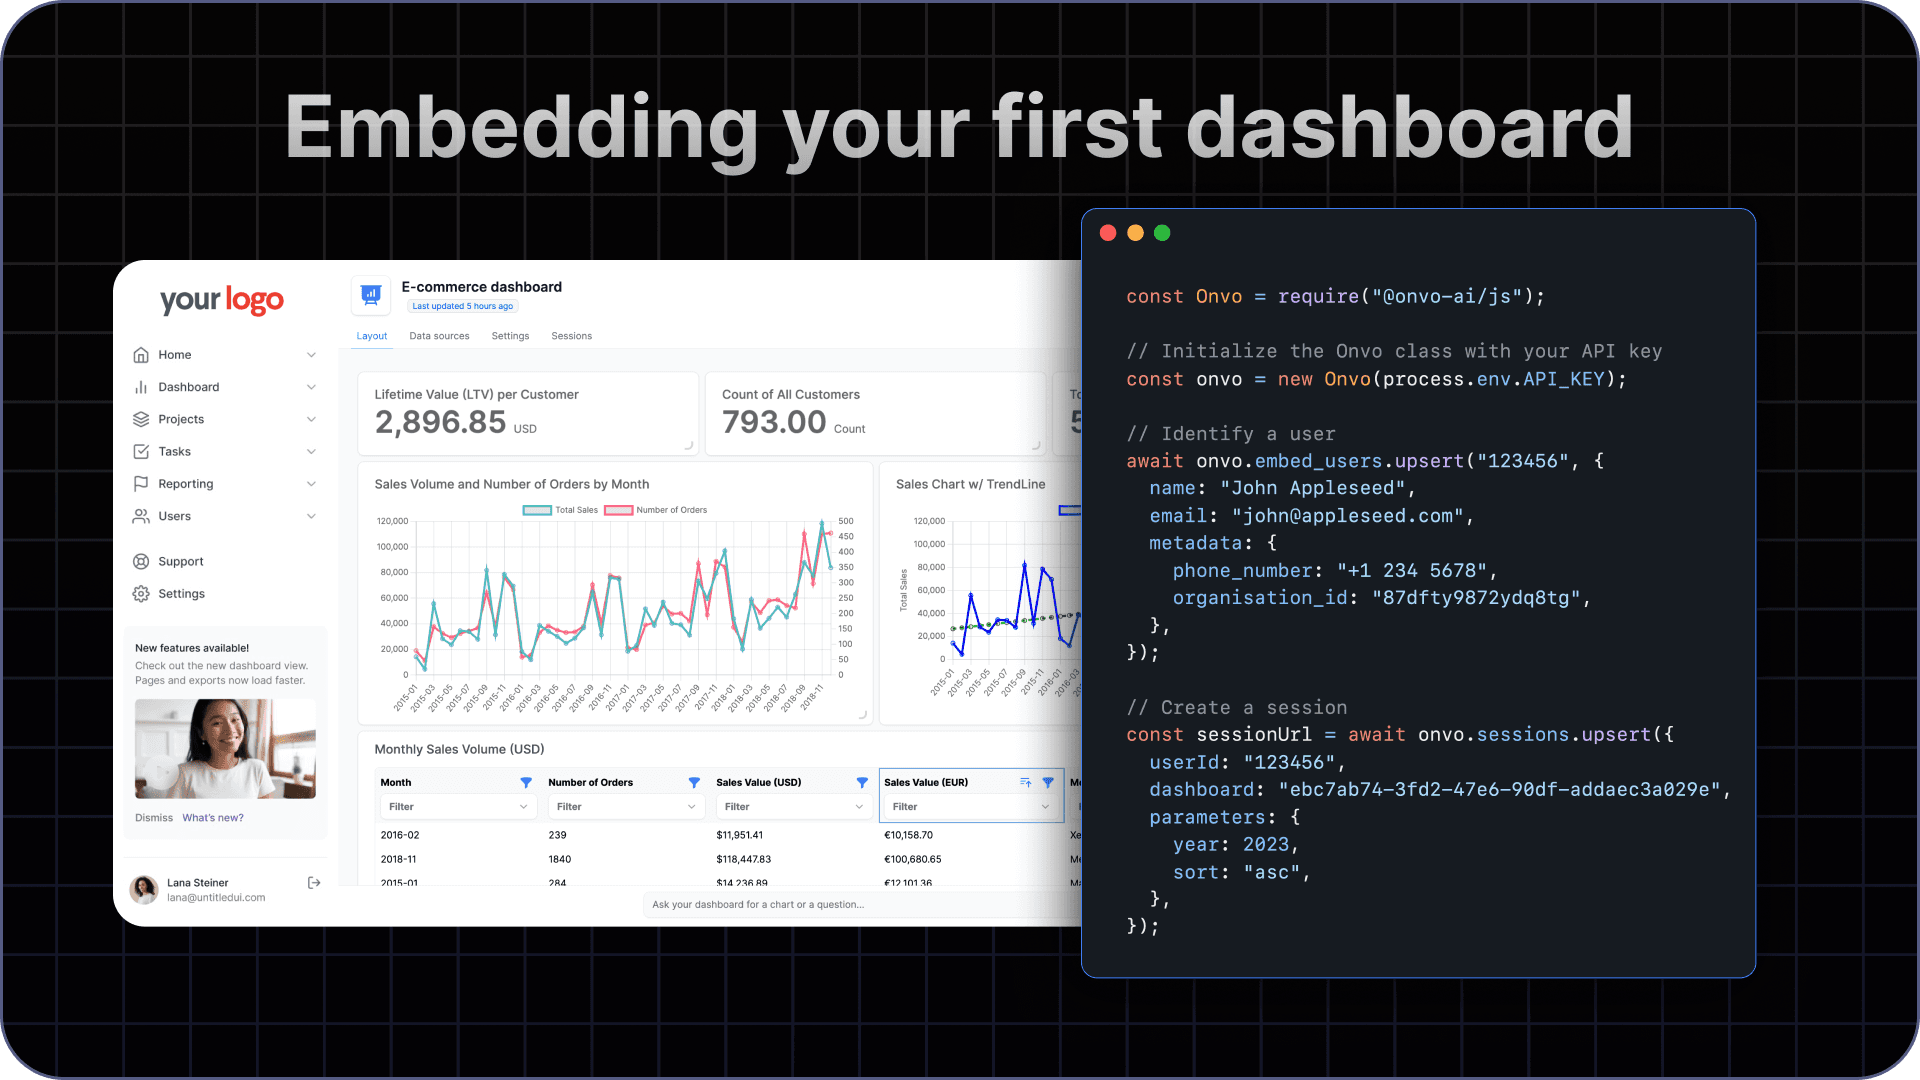
This section will walk you through taking the dashboard you just created and embedding it using an iframe

Create an API key
Now that you have a dashboard ready to embed, let’s jump into the code.
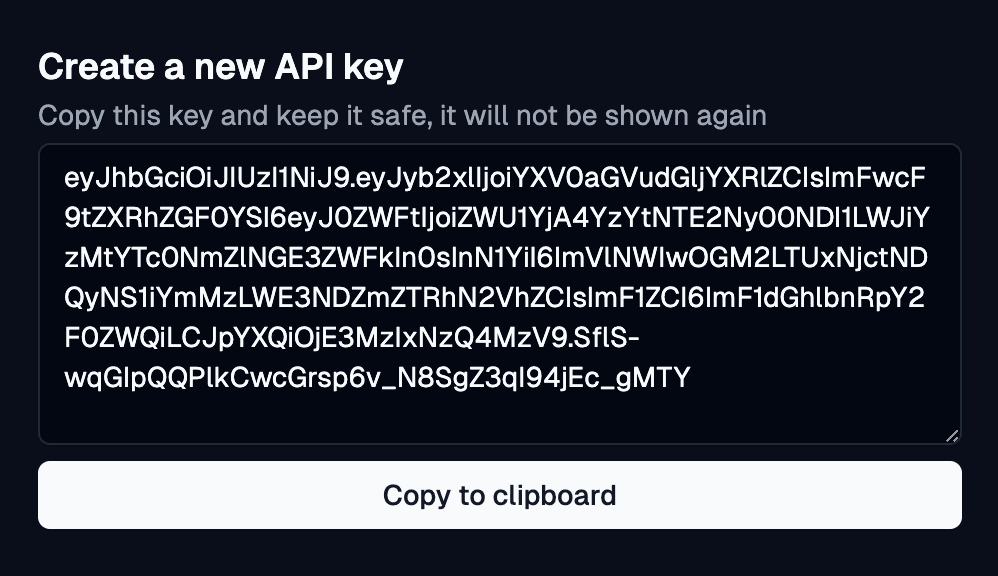
Begin by creating an API key by going to Settings > API keys and clicking on Create new key. Here, fill in a name for your API key and click on Generate Key.

This API key will not be shown again, so make sure you copy it and store it in a safe place before closing the modal.
Save this API key to your env file.
API_KEY=eyJhbGciOiJIUzI1NiJ9.e...Install the backend package
Next, in your backend environment, install the @onvo-ai/js package, this lets you authenticate users, setup sessions and fetch the list of dashboards & reports.
Initialise the SDK
import Onvo from "@onvo-ai/js";
import dotenv from "dotenv";

dotenv.config();
let onvo = new Onvo(process.env.API_KEY);
Using the SDK
You can now fetch the list of dashboards and reports you have with the following API calls:
let dashboards = await onvo.dashboards.list();This returns a list of Dashboard objects.
To allow a user to view a dashboard, you need to associate an embed user with the dashboard using a Session. To get started, create the embed user using the following function:
await onvo.embed_users.upsert("123456", {
  name: "John appleseed",
  email: "john@appleseed.com",
  metadata: {
    // can contain any other key-pair data you would want to store about the user
    group_id: 55,
  },
});
To create a session linking the user and a dashboard, you can use the following code:
let session = await onvo.sessions.upsert({
    parent_dashboard: <Dashboard ID>,
    embed_user: "123456"
});
This returns an object that looks like the following:
{
  "dashboard": "e0a6ce20-ca31-421e-8764-74cde46e9463",
  "team": "31a05cfd-1275-4c76-8390-20b328a3c4bf",
  "parameters": {
    "hello": "world",
    "testing": 1234567456
  },
  "embed_user": "123456",
  "url": "https://dashboard.onvo.ai/embed/dashboard/e0a6ce20-ca31-421e-8764-74cde46e9463?token=eyJhbGciOiJIUzI1NiJ9.eyJyb2xlIjoiYXV0aGVudGljYXRlZCIsImFwcF9tZXRhZGF0YSI6eyJkYXNoYm9hcmQiOiJlMGE2Y2UyMC1jYTMxLTQyMWUtODc2NC03NGNkZTQ2ZTk0NjMiLCJzZXNzaW9uIjoiMWFkODkzZDktODY1NC00Nzk3LTg2MDMtZDAxMTg2NTc1MzQ5In0sInN1YiI6IjMxYTA1Y2ZkLTEyNzUtNGM3Ni04MzkwLTIwYjMyOGEzYzRiZi1zdWNjZXNzZnVsbCIsImF1ZCI6ImF1dGhlbnRpY2F0ZWQiLCJpYXQiOjE2OTQxNTU3Mjd9.P_eZloNdX7FN2sVWsANfIrHy5SikE1Zl8NPmAteDIwU"
}
Now you can embed the URL in an iframe to show the dashboard to your user. This URL contains a securely signed token that gives the user access to just the dashboard and nothing else. To show a different dashboard to the user, you would need to create a new session linking the user to the new dashboard and you would receive a different url to embed.