Setting up filters
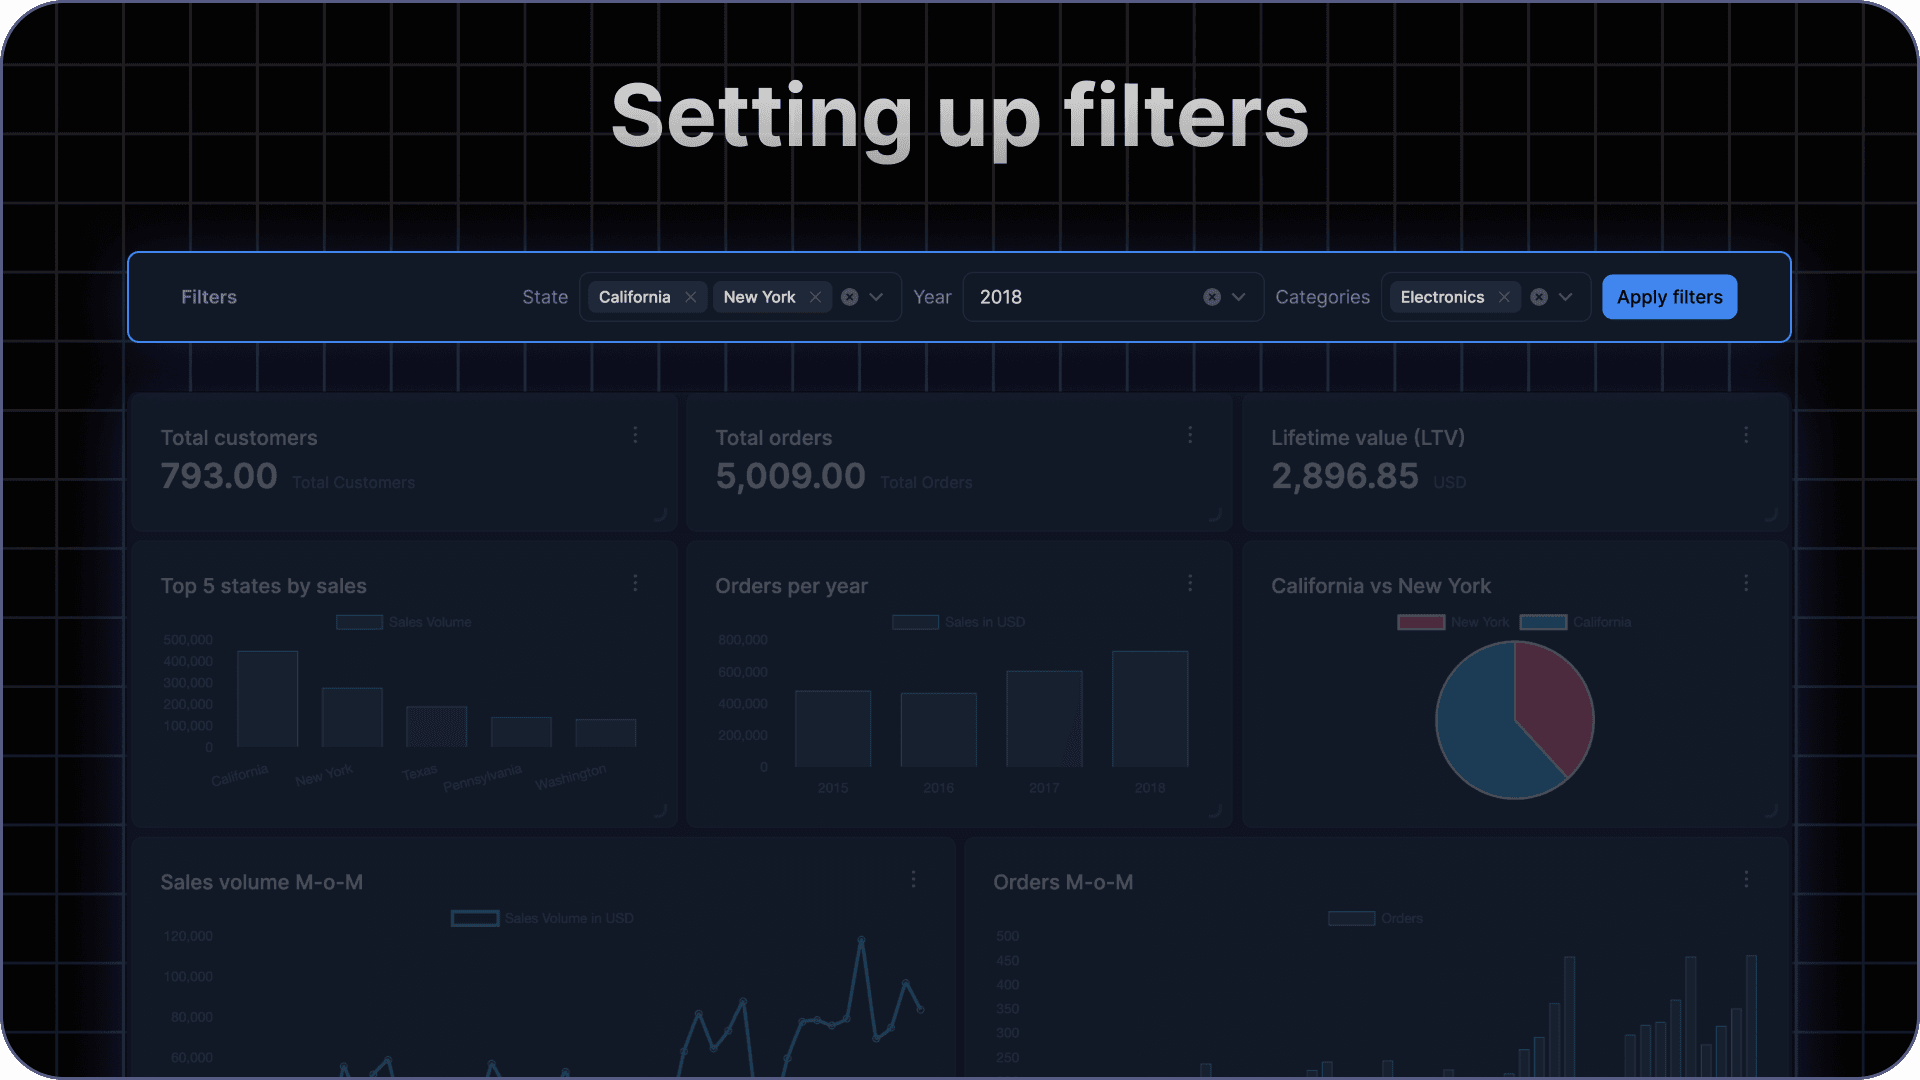
This section will walk you through adding customizable filters in your dashboards that your users can use

Setting up filters in data sources
Filters in data sources allow you to filter out your dataset based on a user’s preferences. These filters could be one of 3 types:
- Text select : This could be for categories or unique names (This will be a multi select)
- Date range : This is used for filtering dates based on a max and min date (This is inclusive of both min and max dates)
- Number range : This could be used for filtering numeric values like quantities or prices (This is inclusive of both min and max values)

The label is used for grouping filters across multiple datasources. So if you have 2 datasources with filters having the label Date, a single date filter will be shown to the user and that value will be used to filter both datasources.
Setting up filters in dashboards
Now that you have learnt how to set up filters on your datasources, let’s enable filters on the dashboard.
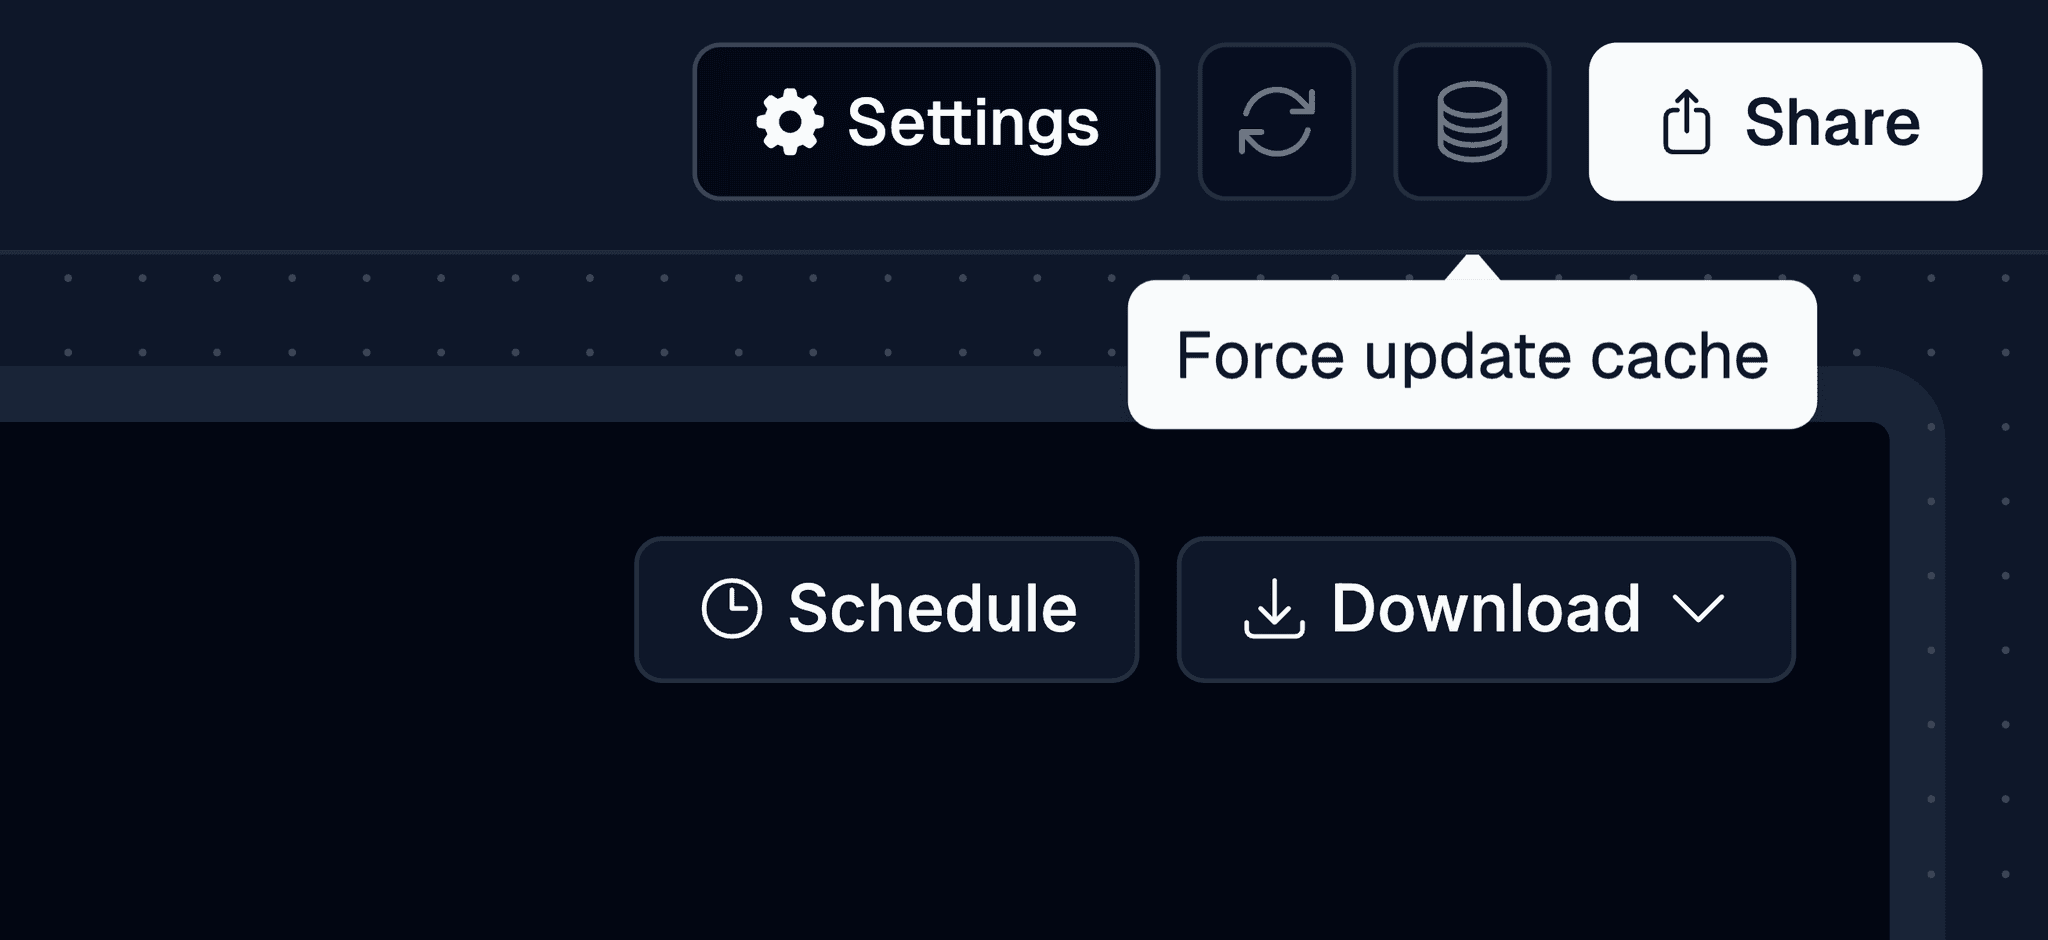
To do that, you can then head to a dashboard that has the particular data source linked, click on Settings in the top right corner and then enable the Users can filter dashboard setting in the Capabilities section.

Updating filters
The filters are automatically updated whenever your dashboard updates. This happens every 5 minutes by default but if you need to force update the cache, you can find the button to do so in the top right corner of the dashboard.
